How To Translate A Gambas Project
1. Mark all strings that need to be translated
By default:
-
The Text property of controls is translated.
-
The code strings are not translated.
To mark a string to be translated, you must enclose it between braces:
Examples
PRINT "This string will not be translated"
PRINT ("This string will be!")
Strings that are to be translated are usually all text that the user will read.
Beware not to concatenate translated strings, because the order of words changes with the language. Use the Subst() instruction instead.
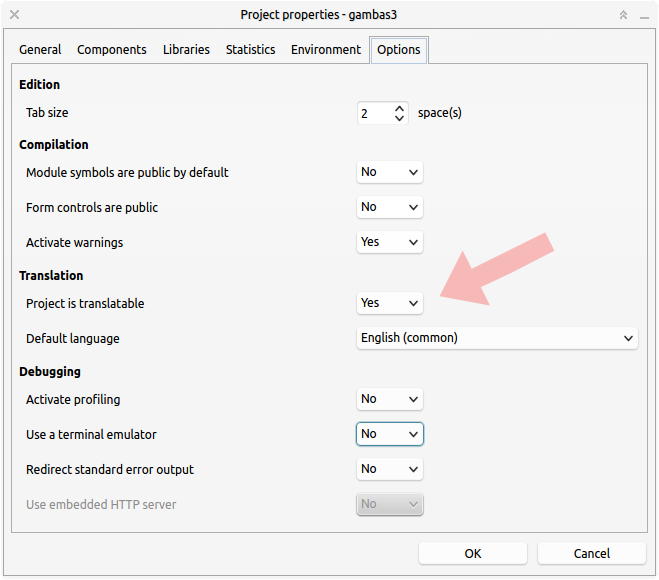
2. Check that you correctly enabled project internationalization
You do that in the project property dialog:

The default language allows the translation wizard to know the language used by the untranslated strings.
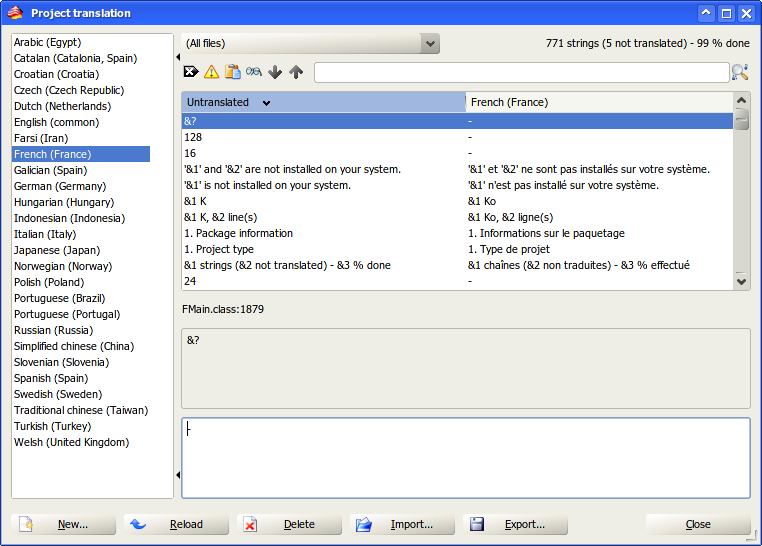
3. Do the translation
To do that, click on
translate... in the
Project menu.
If the IDE complains about msgmerge, make sure you have GNU gettext tools installed on your computer.

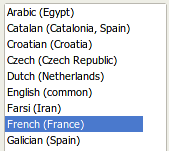
Then, select your translation language in the left list.

If the translation is not present in the left list, click on the
New button and choose a new translation.
If you need translating into a language that does not exist in the
new translation dialog, write me and I will add it.
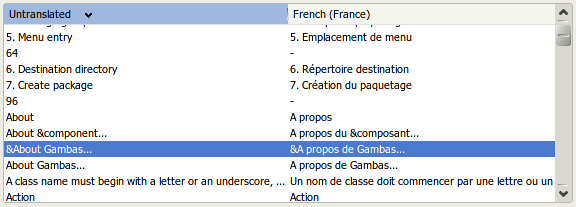
Select an untranslated string in the table.

Then enter its translation into the text field on the bottom of the
dialog.

You can indicate that a string must not be translated by entering a single minus character as translated string.
Repeat this process until every string is translated. When you have finished, click on the
Close button.
You can translate the project in several shots.
You can play with the toolbar icons.

From left to right, these icons allow you to:
-
Clear the current translated string.
-
Mark a string as not translatable.
-
Copy the untranslated string to the translated one.
-
Verify the current translation, by checking that every symbol character is preserved.
-
Find the next untranslated string.
-
Find the previous untranslated string.
-
Search a text inside the strings to translate, or the translated strings.
There are other functions provided by the dialog box buttons:

From left to right, these buttons allow you to:
-
Insert a new translation in the left language list.
-
Reload the current translation. All your changes are lost.
-
Delete the current translation.
-
Import and merge a translation file into the current one.
-
Export the current translation to a file.
The translation are automatically saved when you change the current language or when you close the translation dialog box.
The result of your translation is stored in a
*.po file stored in the .lang directory of the project. The name of this file depends on the language. For example, the french translation is named
fr.po.
Each time you make a new version of your project, untranslated strings may change. But don't worry, your translated strings are preserved.
-
If an untranslated string disappears, the translation disappears with it.
-
If a new untranslated string is added, it gets a void translation.
-
All other untranslated strings keep their translation.
4. How to use automatic translation
-
You MUST have translate-shell installed. https://translate-shell.readthedocs.io/en/latest/
eg. with apt type sudo apt install translate-shell
-
In the main Gambas IDE Preferences in the "Project" tab the "Automatic translation with translate-shell" option must be selected.
Then...
-
Open the translation dialog.
-
Press "New" and select a language.
-
Then with the menubutton to the right of "New" you will find options to select the translation engine "google" by default.
-
With the same menubutton is the "Automatic translation" option that will ask to start translating ALL the strings.
-
Press yes and wait.
Depending on the amount of strings and the length the translation may be quick or a very long time.
-
Alternatively you can select a single translation string and hit the "Automatic translation" button below the list to translate only 1 text.